How to Enable / Customise Email Spam Filtering
1. Logging into your Portal
- Go to the "My Account" section of the Zen website and enter your username or password

Note - If you are not signed up for the portal click the button to "Sign Up for a Zen Account"
2. Finding Your Service Details
- Click "My Services" tab at the top of the portal page

- Find your Internet service from the list, then select the arrow to the side to open more information

- You'll see a "Things you can do" section, select the option for "Email/sub-domain settings"
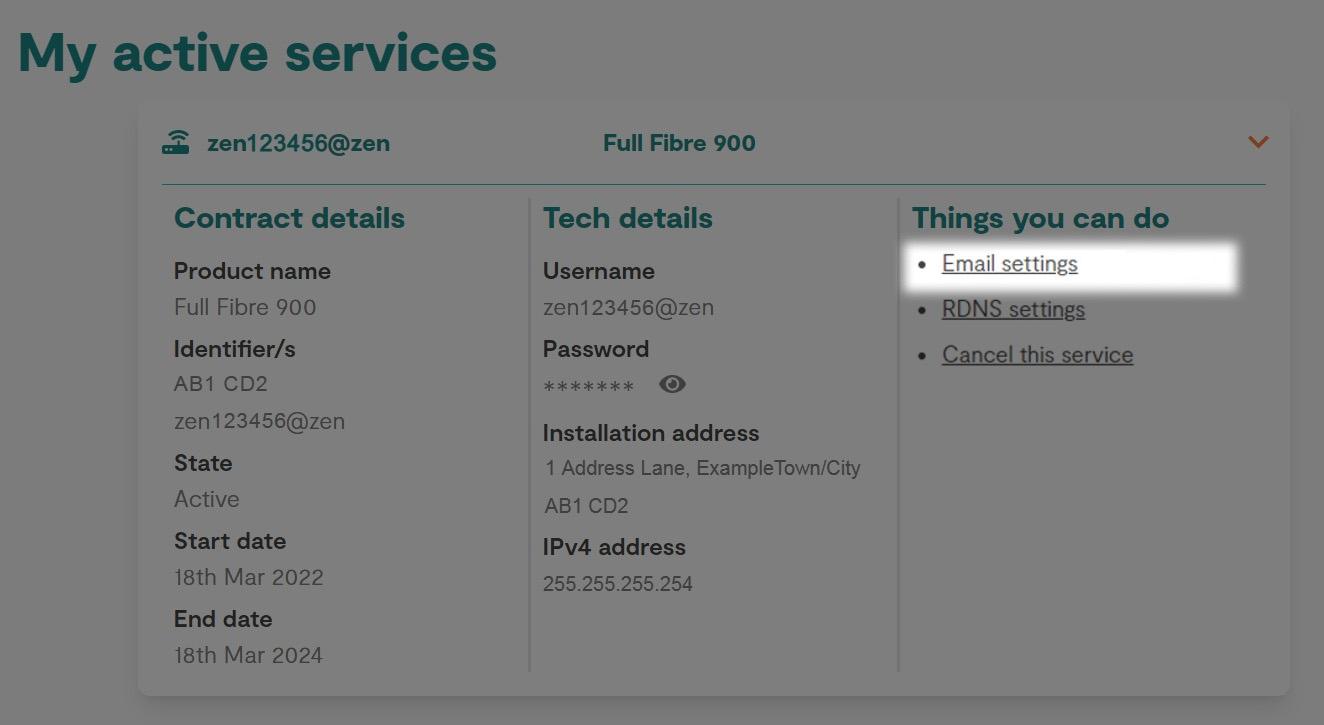
3. Finding Email Addresses
- Within the "Email Addresses" section, find the email address you need the settings for
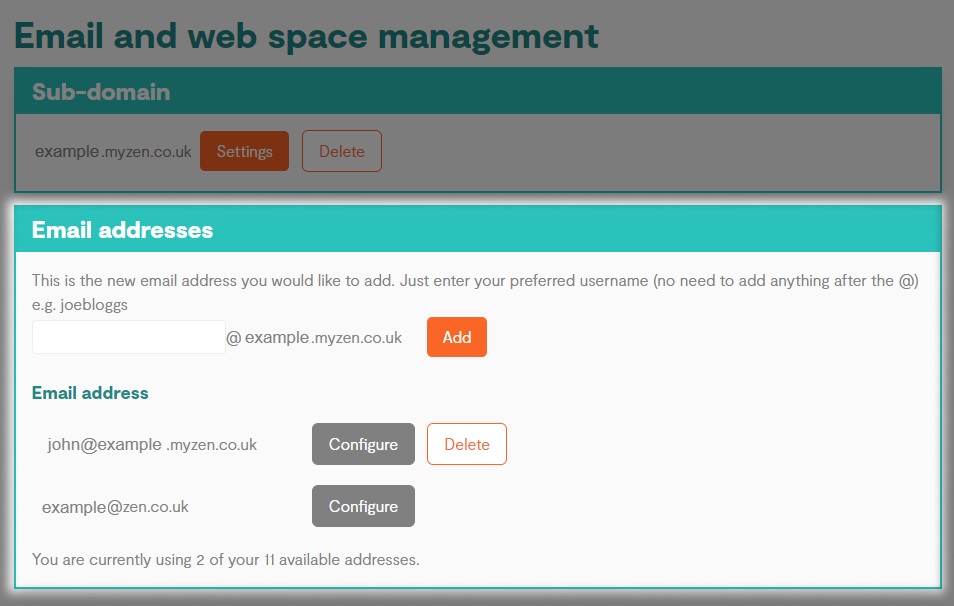
- Select the "Configure" button to see more information
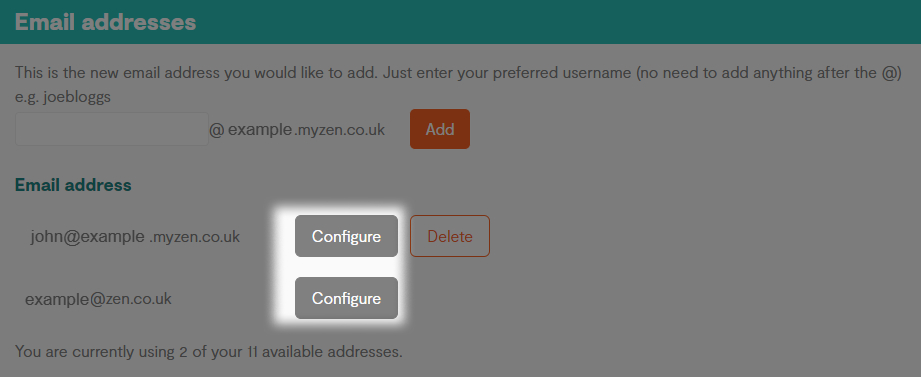
Note - You can also delete a mailbox by pressing the "Delete" button. Be aware, any deleted mailbox will not be able to be recovered
4. Spam Filtering Settings
- Under "Email Address" you'll find your email address
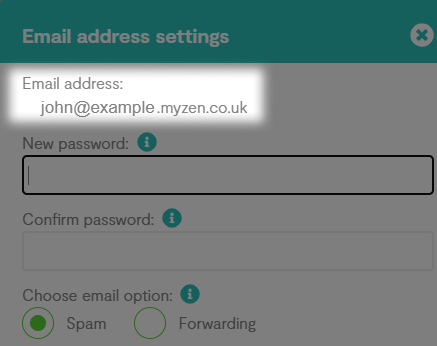
- Then you want to ensure that "Spam Filtering" is selected:
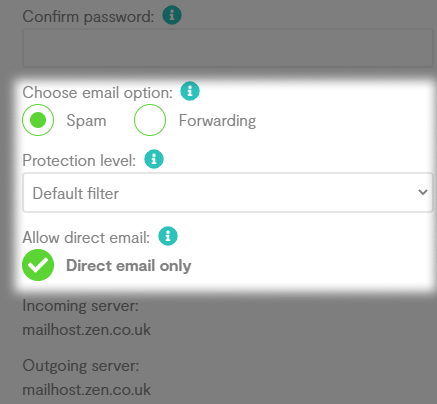
- Your Spam protection level will be set to "Default Filter".
4. Customising Spam Filtering Settings
- if you wish to customise this you can do so by selecting an alternative level from the dropdown:
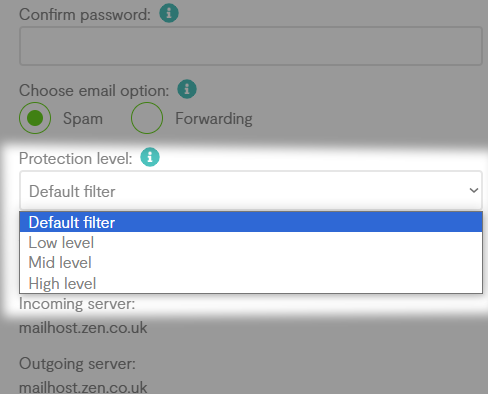
| Default Filter: Allows all but the most harmful emails through |
| Low level: Very basic spam filter |
| Mid level: Should block the most common spam, but some may get through |
| High level: Very aggressive spam filter, which may block non-spam emails |
5. Save Changes
- To save and changes you may have made simply click "Save".
Optional: How to View your Spam Mailbox
Any mail caught by our spam filters is sent to a different spam mailbox for POP3 email.
You can access this mailbox by entering "/spam" at the end of your username before the "@" symbol, and by using the same password as the original mailbox.
E.g. zen123456/spam@zen.co.uk
E.g. example@email/spam.myzen.co.uk

