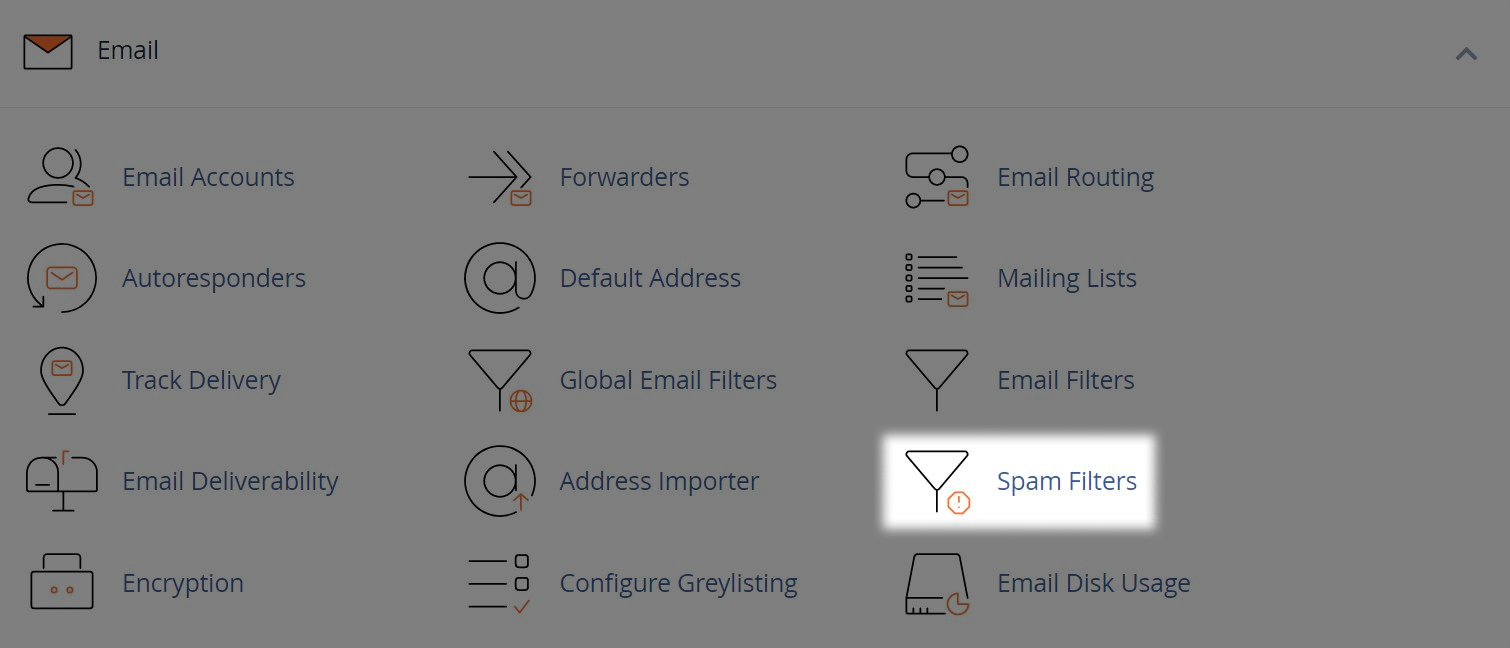
Changing an Email Account Spam Filter in cPanel
2. Sending Spam to a Spam Folder
You can choose to send email to a spam folder based on a spam score generated when the email is received.
- First enable the option for "Move New Spam to a Separate Folder (Spam Box)"
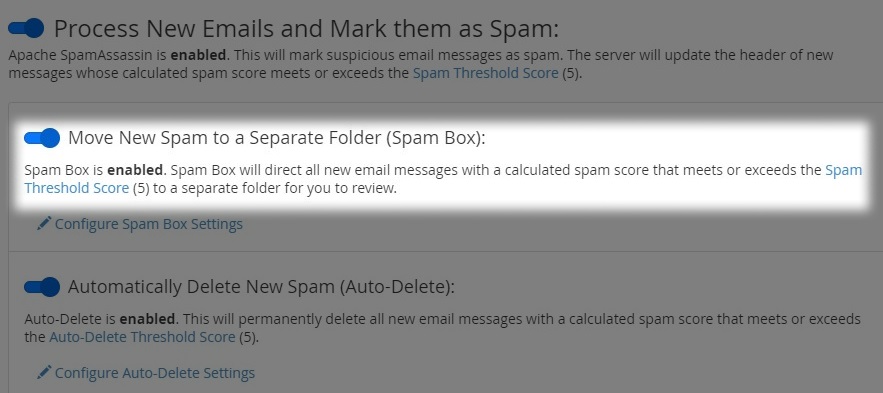
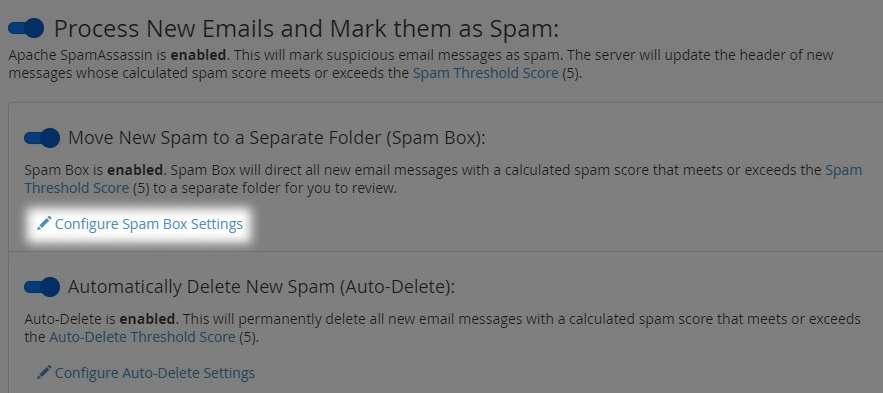
- You can further configure this by selecting "Configure Spam Box Settings"
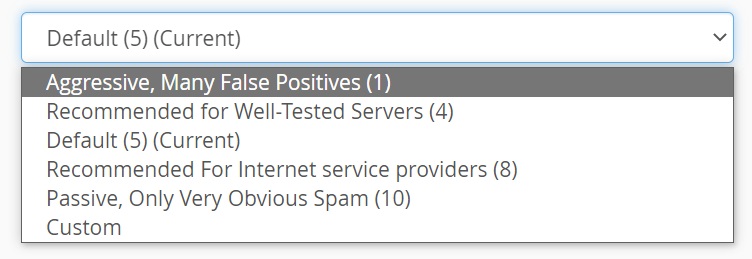
- To alter your spam score threshold, select "Spam Threshold (required_score)". Now select the desired spam score threshold that meets your requirements and press "Update Scoring Options" to save your settings
- To empty spam folders you have two options:
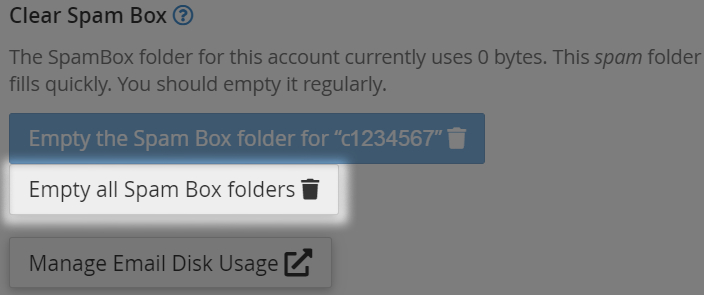
- Select "Empty All Spam Box folders" to manually delete all spam for all mailboxes
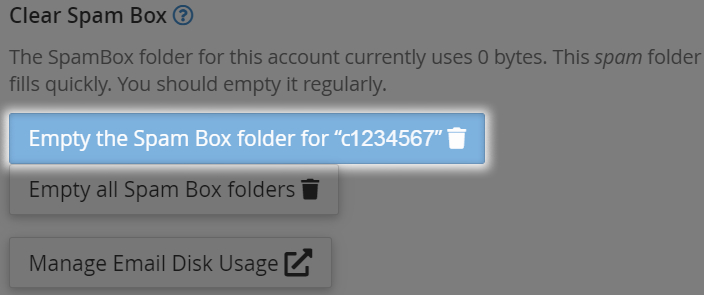
- Select "Empty the Spam Box folder for '...' " to delete spam for a specific mailbox
3. Auto-Deleting Spam
You can choose to auto-delete emails under a certain threshold. This is based on the current spam score when the email is received.
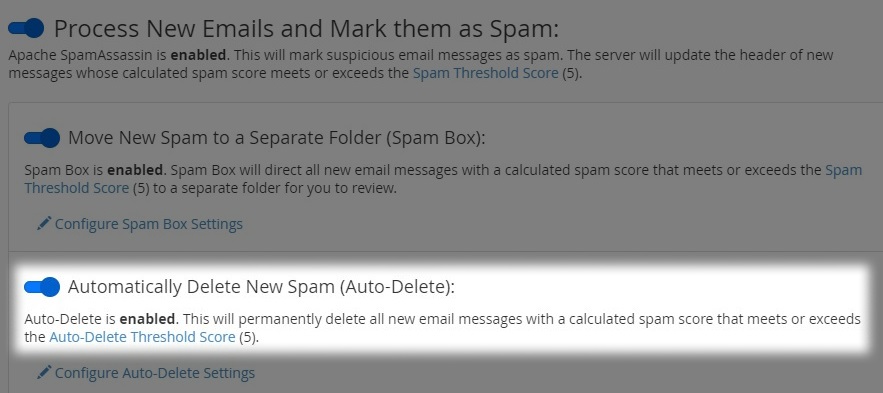
- First enable the option for "Automatically Delete New Spam (Auto-Delete)"
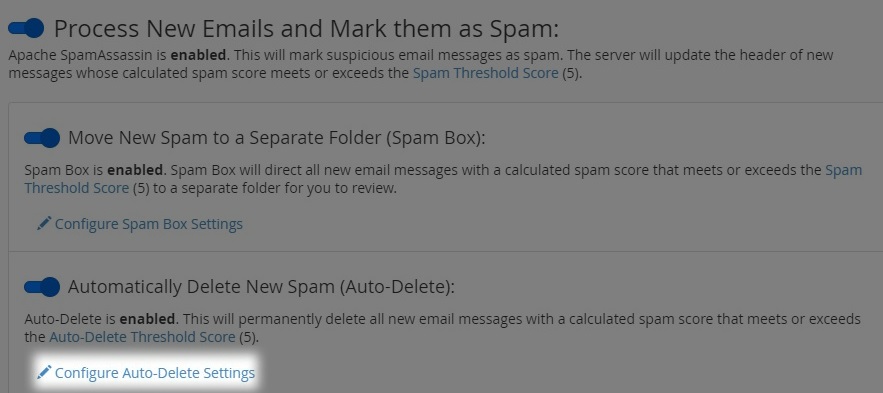
- You can further configure this by selecting "Configure Auto-Delete Settings"
- To alter your auto-delete threshold, within "Auto-Delete Threshold Score" enter the desired score threshold that meets your requirements. Press "Update Auto-Delete Score" to save your settings

Note: Auto-Deleting spam can potentially lead to false deletions, keep this in mind when enabling this setting.
Additional Configuration
There are further options available to manage spam. You can find these under "Advanced Configuration (For Advanced Users)" section.
- If you wish to whitelist an email address so it is not affected by spam score, you can add them to a list by clicking "Edit Spam Whitelist Settings"
- You can also blacklist an email address so it is automatically treated as spam regardless of score, you can add an address to a list by clicking "Edit Spam Blacklist Settings". This will also be affected if "Auto-Delete" is enabled


