Managing Filters on cPanel
1. Accessing Email Filter Settings
- First, open your cPanel and log in (for a guide on how to do this look here)
- Select "Global Email Filters" or "Email Filters" from the "Email" sub-menu
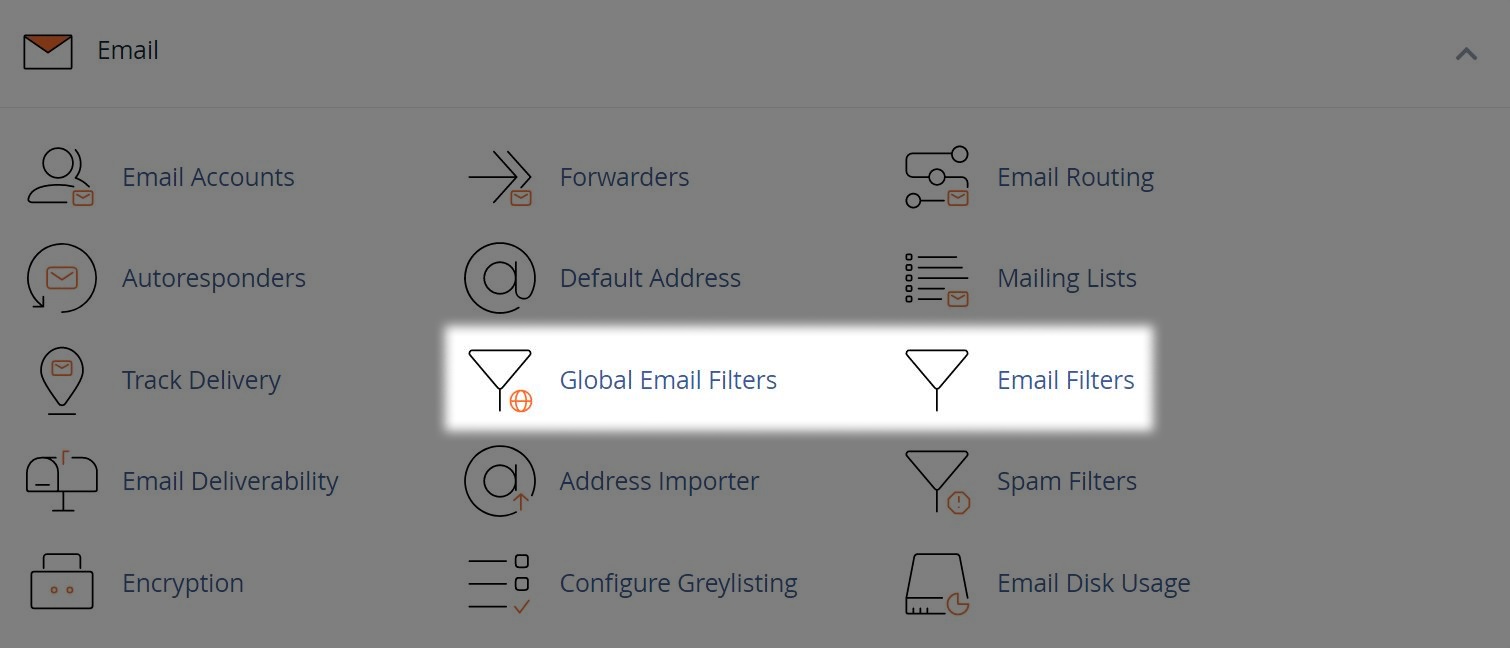
- You can choose to create a "Global Email Filter" for use on all email accounts. Or you can set an "Email Filter" for use on specific accounts. The steps to create any filter are the same.
Note: If you are looking how to setup Spam Filtering, see this guide here.
2. Setting/Editing an Email Filter
- If choosing "Email Filter" select the account you wish to add a filter to from the list, then select "Manage Filters"
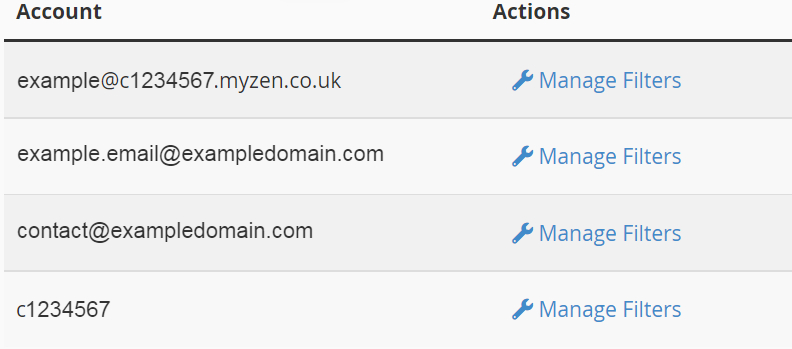
- Next select the button to "Create a New Filter" or "Edit" an existing Filter
- Set a "Filter Name" to easily identify the filter

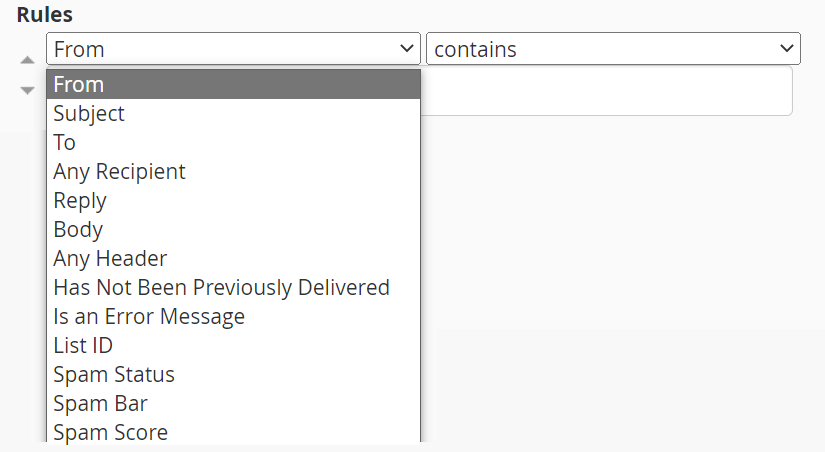
- For "Rules" you'll need to set multiple parameters:
- For the first list, select the part of the email you wish to filter, such as "To", "From" or "Subject"
- For the second list and free text field, select what to filter the part against, such as if it "Contains", "Equals" or "Does not Contain" something
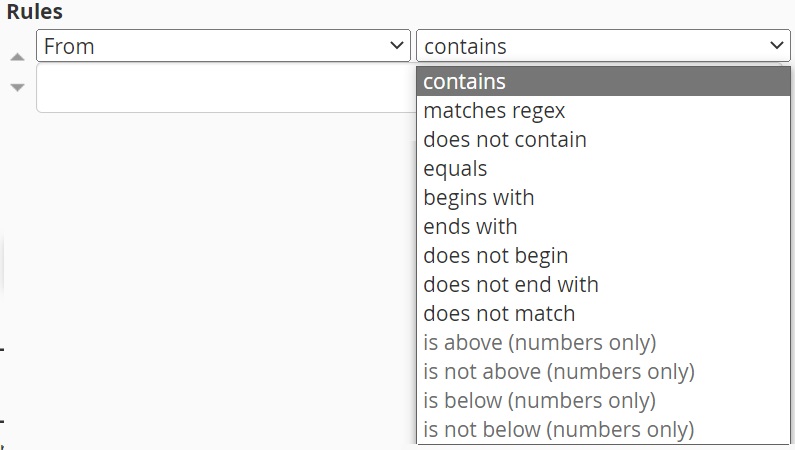
Example: If you entered "Subject" in the first field, "Contains" for the second, and entered the word "Sales" in the free text field. The filter would find emails that contain the word sales in the subject line.
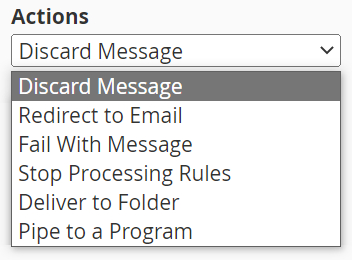
- Finally, set the "Action". This determines what's done with the emails found by the filter "Rules". There are options such as "Deliver to a Folder", "Discard a Message" or "Redirect to Email"
- To complete the filter, click "Create"
Additional Notes
Some actions may ask you to enter further information, such as selecting a folder or enter text.
Be aware that if selecting to discard mail, this mail will be deleted and unrecoverable, have caution before selecting this option.
You are able to add additional actions and rules by clicking the "+" or "-".

